Mark's Rice Blender Bread
AFTER MY 22ND ATTEMPT TO PERFECT MY RICE BLENDER BREAD HERE’S WHAT I’VE COME UP WITH.
INGREDIENTS:
Uncooked Rice (must be short or medium grain)
Water
Butter (melted) or liquid coconut oil
Suger
Salt
Instant Yeast
2 3/4 cup
1 1/4 cup
3 tbsp
2 tbsp
1 1/2 tsp
3/4 tsp (changed to 1 tsp after my jar of yeast is not so new anymore)
SOME PRE-NOTES:
The pan I used for this was a stainless steel pan measuring 7 3/4″ long x 4 3/4″ wide x 3 7/8″ high. That’s about 130 cubic inches if you want to compare your available pan to this. I recommend having an instant-read digital thermometer before you start. You’ll see why as we go.
If you want to make this bread often and want to keep the cost down here’s a couple tips for you. Get your rice at an Asian grocery. Best prices hands down as far as I know. The second largest expense is the yeast, if you buy it in those little packages it can add up. Instead buy Fleischmann’s Instant Dry Yeast 1 LB package on Amazon much, much cheaper.
INSTRUCTIONS:
Cover the rice in water (enough water to account that the rice may expand some while soaking. I soak it for a couple hours at least. (I’m pretty sure it will still work if you soak it for 1 hour or 10 hours. But that’s what I’ve been doing.)
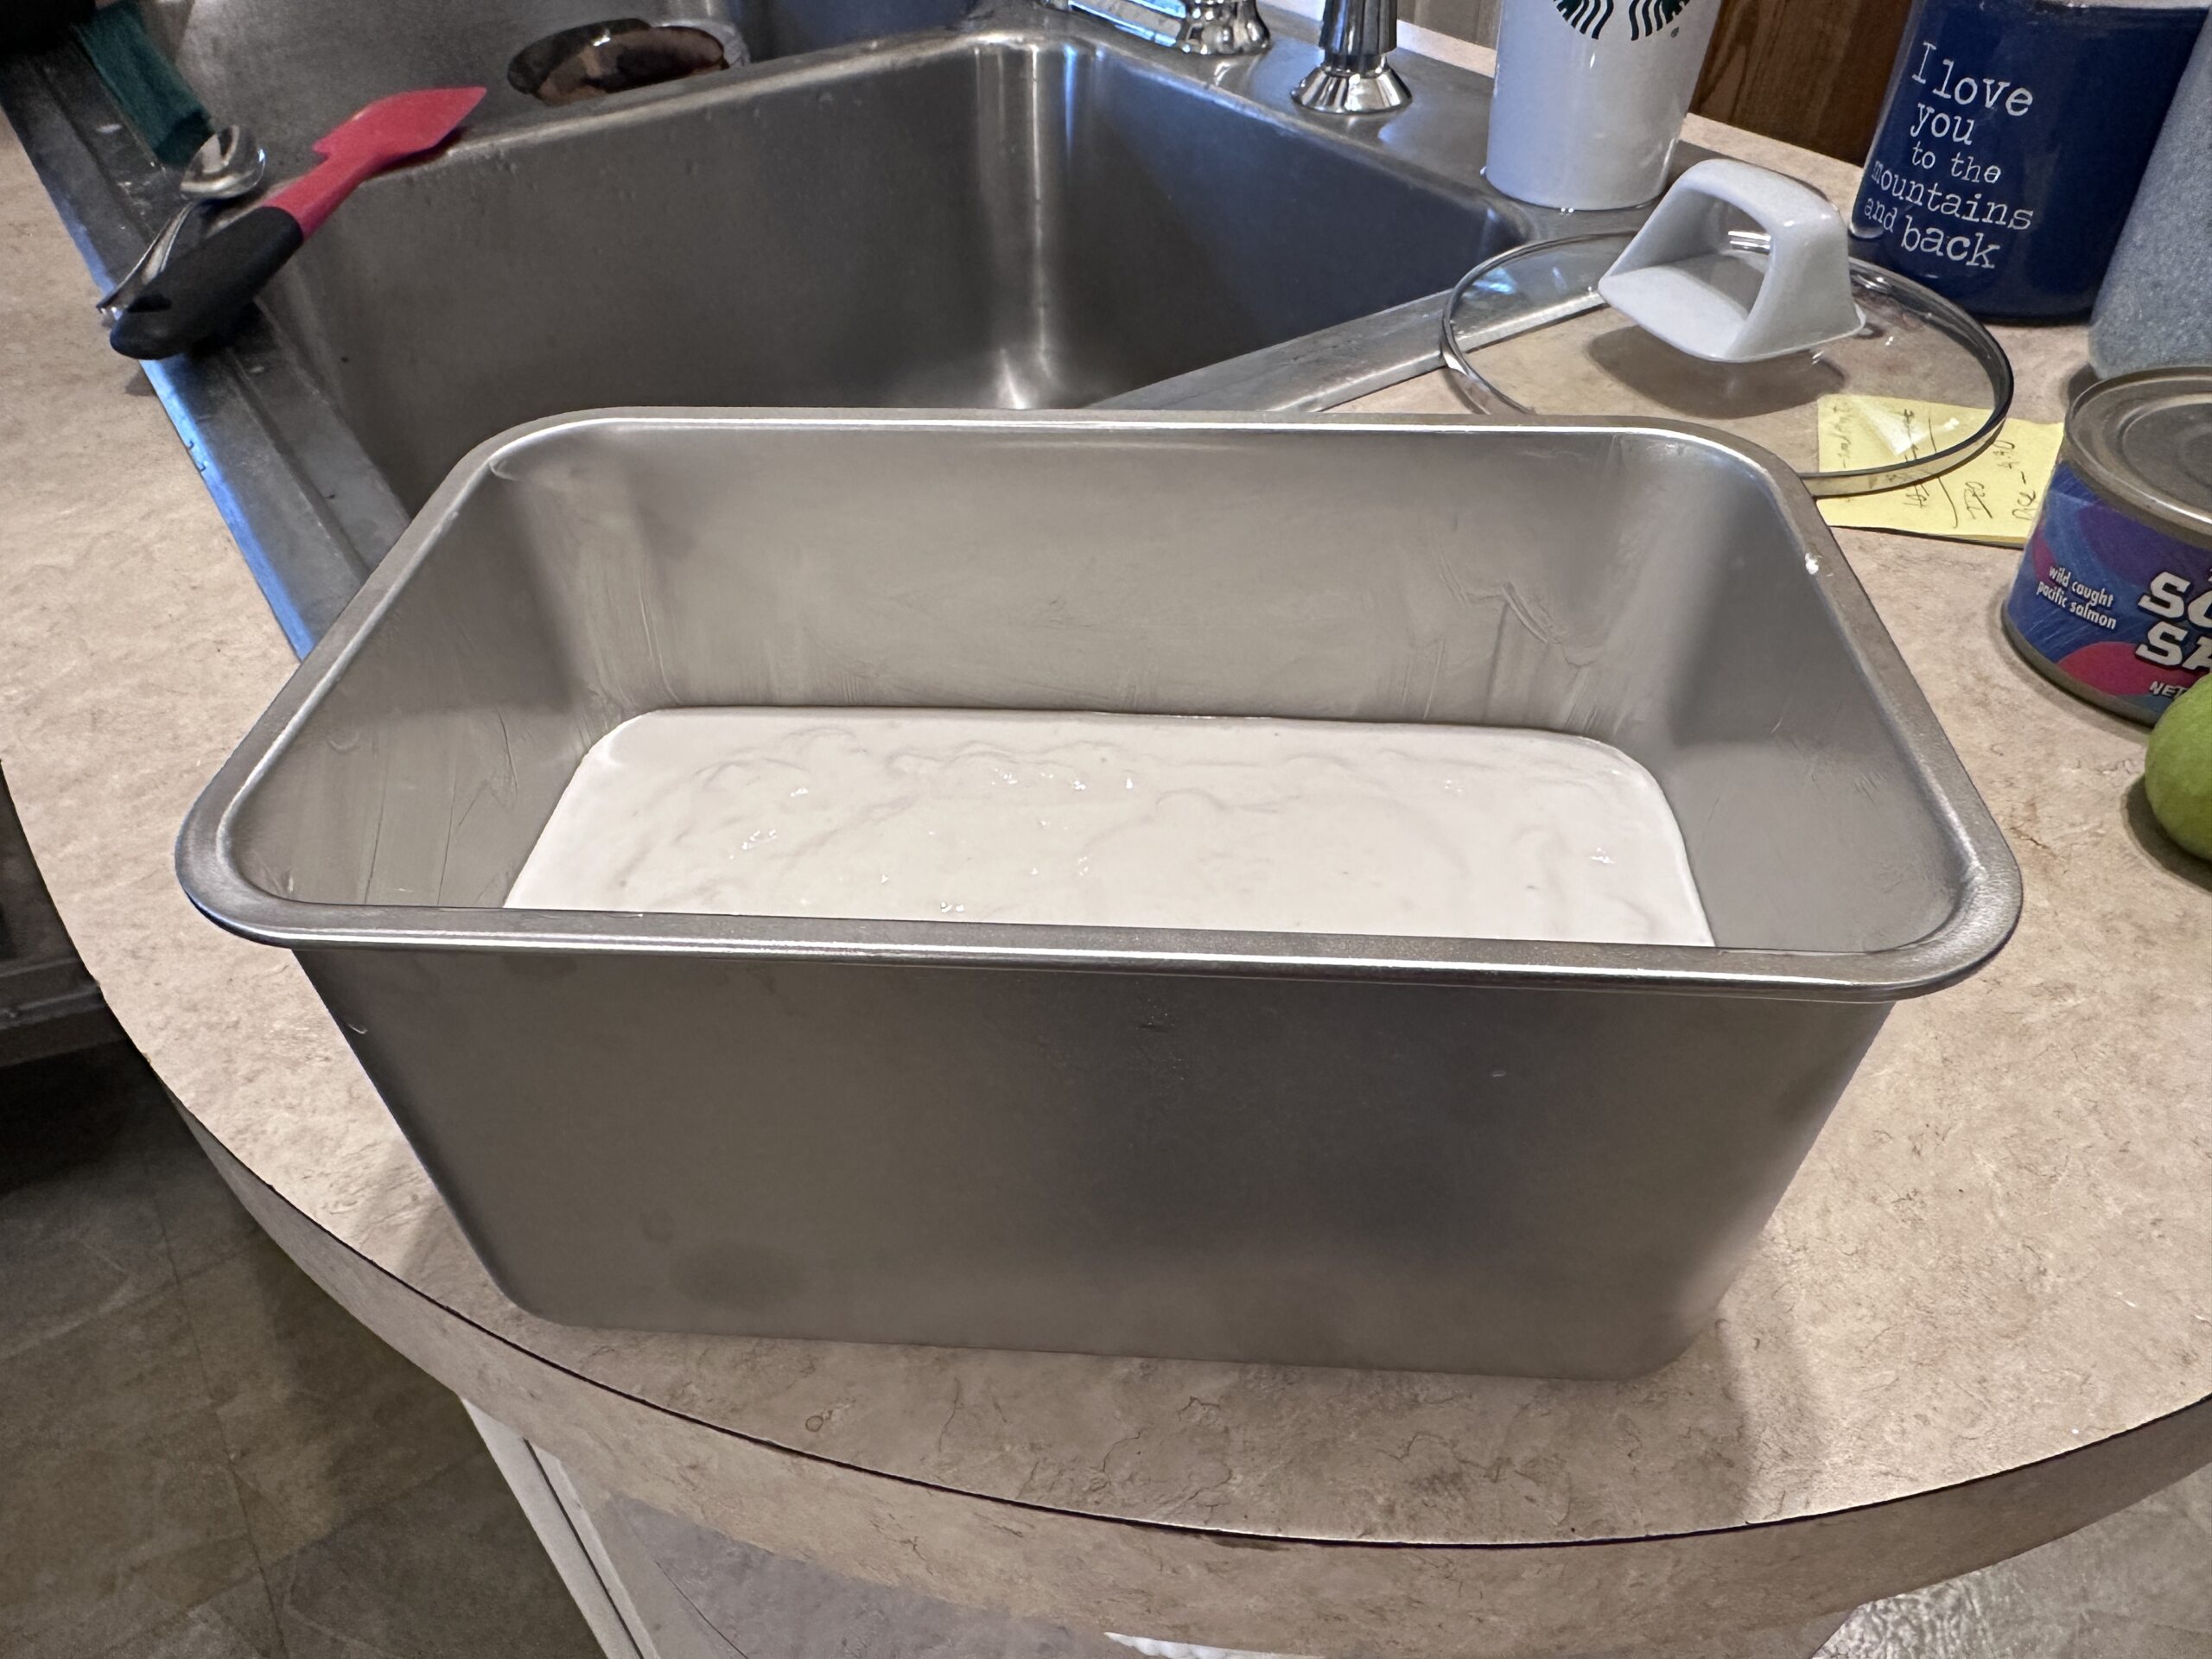
Before I begin the blending process I butter the pan nicely so it’s ready to receive the batter right after it’s prepared.
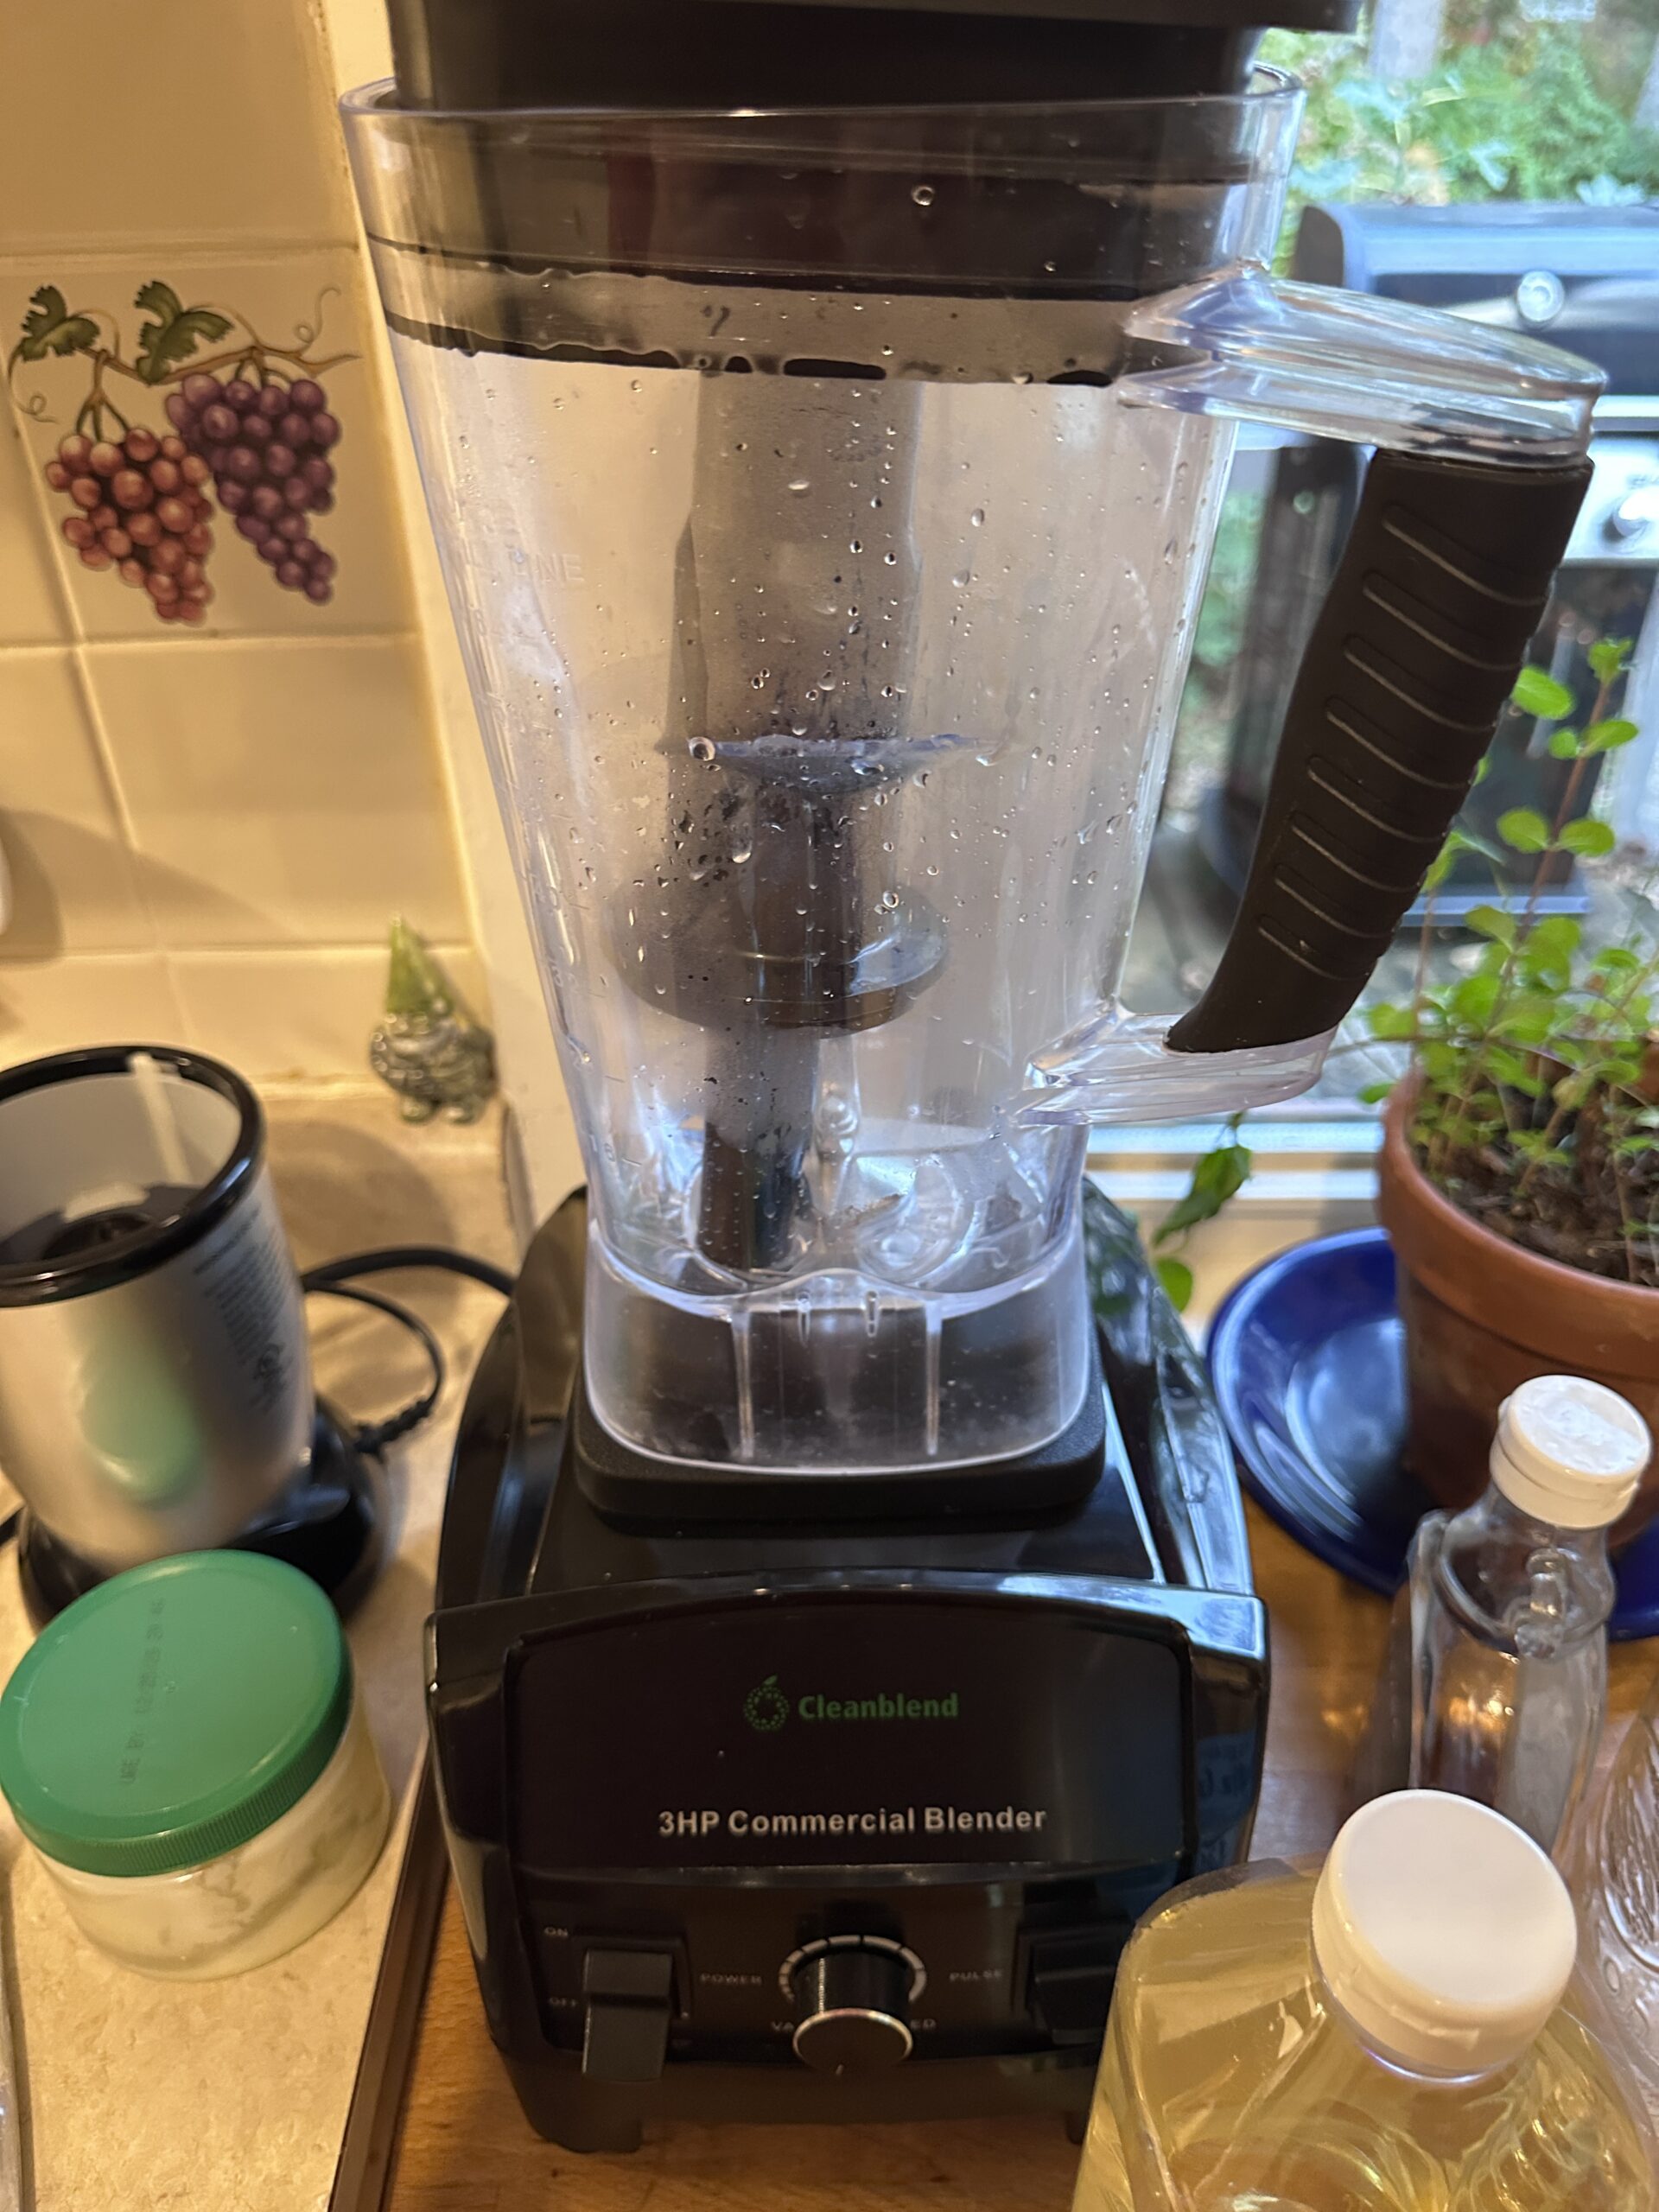
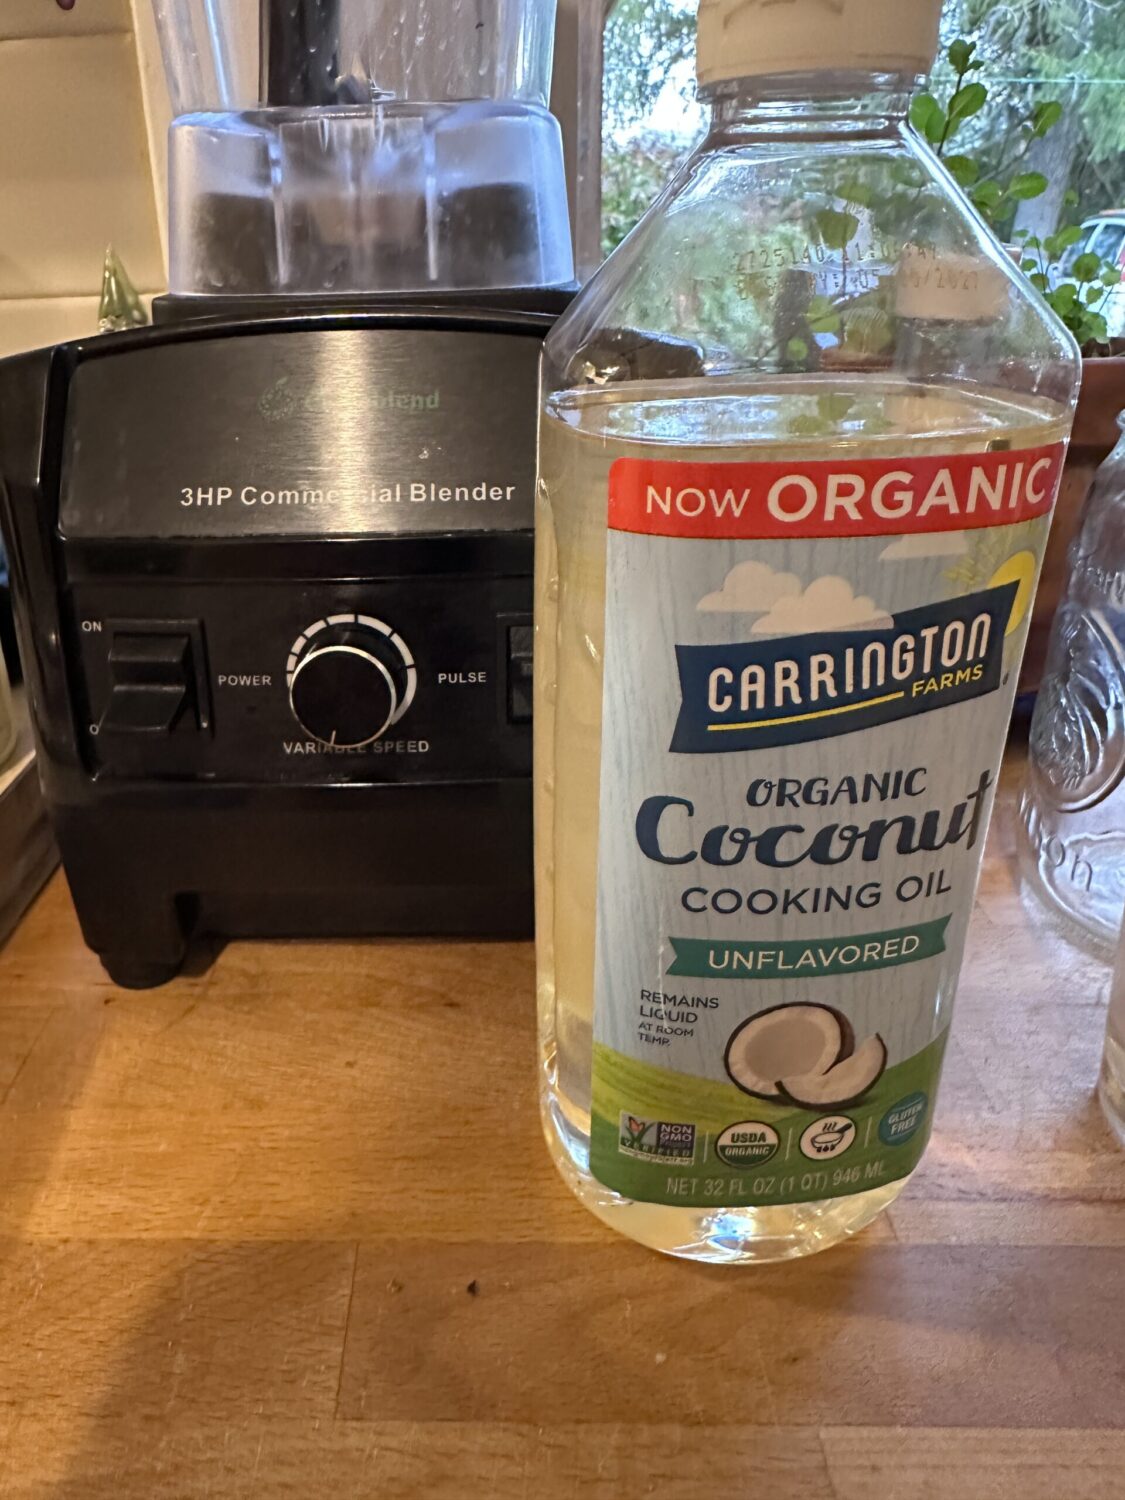
After soaking the rice drain the water from the rice. Put the rice in a blender. A powerful or commercial blender was recommended to be used. There’s some question as to how important that is. But I definitely wouldn’t use a super el-cheapo one. I’m using a 3 HP commercial blender. I’m finding I don’t even need to push to top speed for this.
Next add the water. This is different water than what you used to soak the rice in. Also add the oil (melted butter or coconut oil. Turn blender on for a few seconds just to get the ingredients mixed together. I’m using a fractionated coconut oil made by Carrington Farms that stays liquid at room temperature.
Then add the sugar and salt and mix again for a few seconds.
Then add the yeast and mix in a little. I like to mix the salt and sugar into the batter before the yeast goes in. This way the unmixed yeast and salt never come together too close in a concentrated way. (The salt could kill the yeast if it’s too concentrated!)
Next start mixing the ingredients with the goal of ending up with a thick creamy looking batter. With my mixer I just start it on low speed. It won’t seem that thick at first but over the course of a minute or so it will probably get thicker and creamier looking and may require turning up the speed on the motor. As it mixes it will begin to heat up gradually. So I hold an instant read digital thermometer in the batter as it’s mixing and I let it blend until it reaches 104 degrees F and then shut it down. (If you let it get too warm it will kill the yeast!)
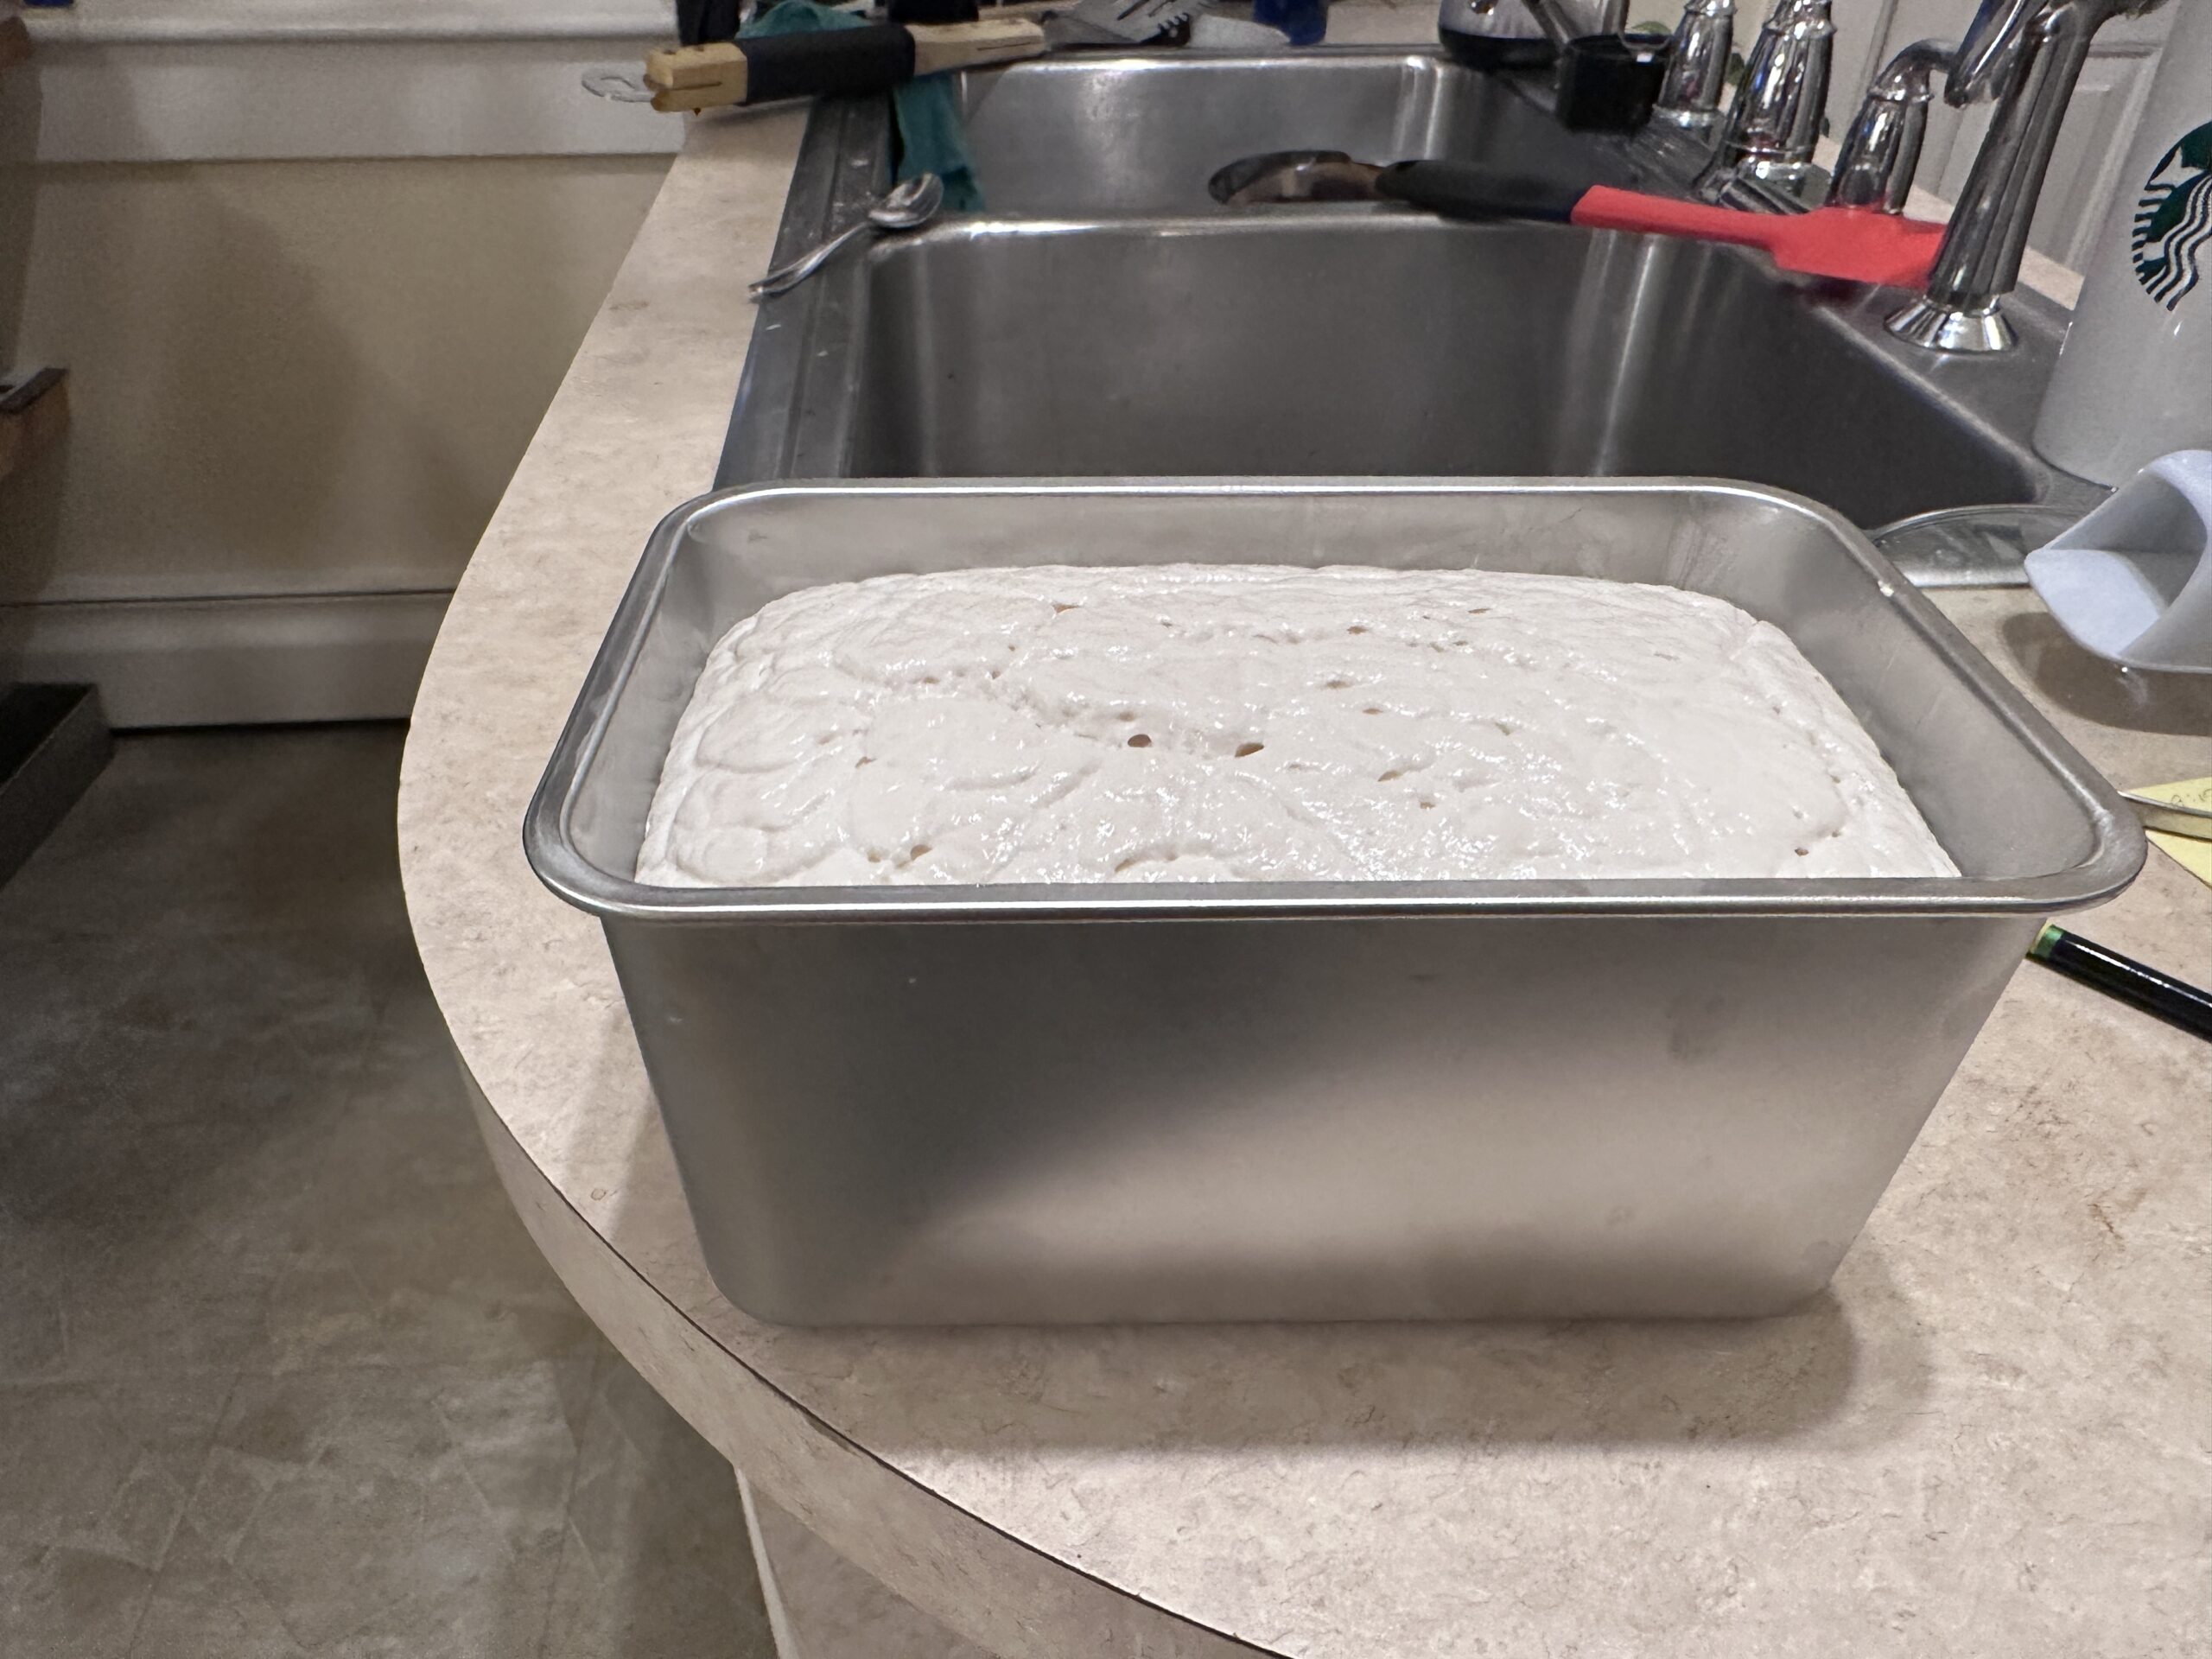
Pour the batter into the bread pan. Let it rise until it doubles in size. I’ve learned the hard way not to let it rise too high or set up circumstances where it rises too fast (like using too much yeast or having the air around it too warm. I just let it sit out in room temperature until it’s just right. It starts off at 104 degrees so I’ve found that gives it a plenty good head start. It’s helpful to take note of how high the batter sits in the pan before it starts to rise. Then visualize where it should reach to when it is doubles in height. When it’s there it’s time to put it in the oven(preheated). It will rise a little higher as it cooks. So keep that in mind if your pan is a little small. It may also be helpful to note that it may start rising very slowly at the beginning. But don’t let that fool you as it will speed up toward the end.
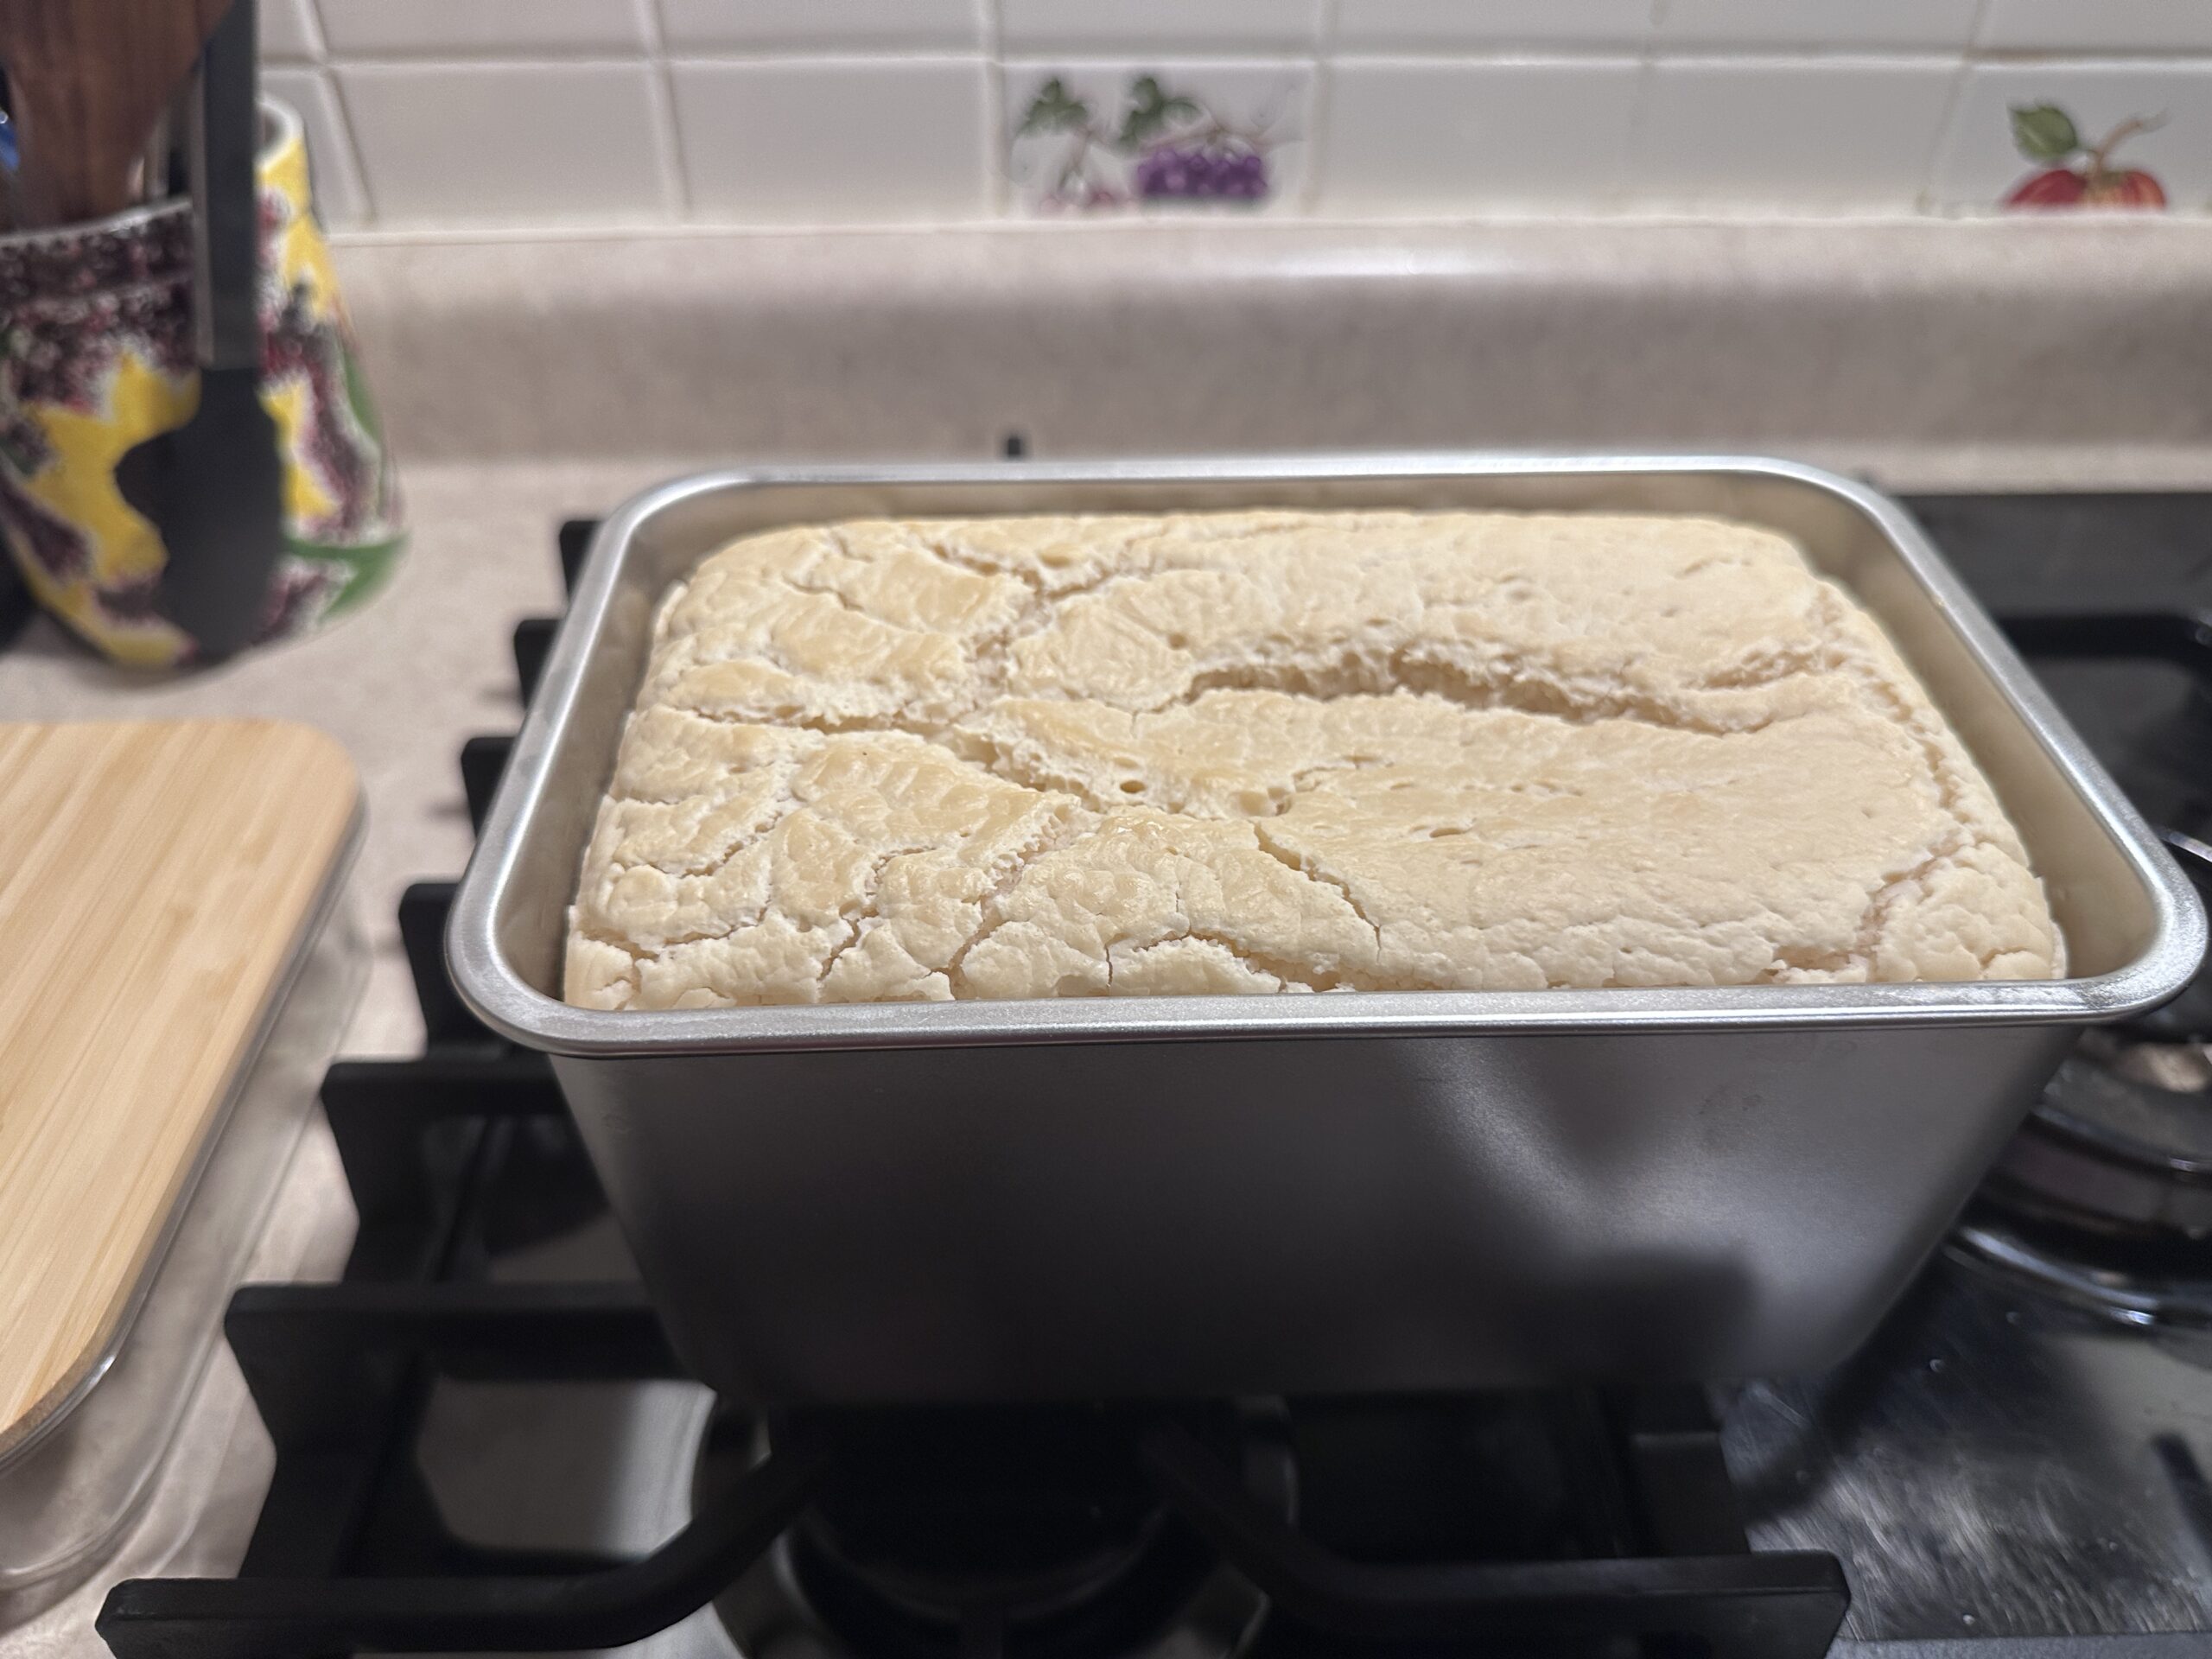
Bake at 400 degrees for 45 minutes.
When it’s done take it out and let it set out and cool an hour or two before attempting to get it out of the pan. Then I may get it out of the pan and sit a while more because the sides and bottom of the loaf may seem a little more moist than should be. A little time out will dry up the sides a little bit.
After this I put it back in the pan and let it sit in the frig overnight. The next day I’ll take it out again, slice it up, return it to the pan and put it in the freezer. This bread is best when it’s toasted in my opinion. So this way you can just pull out a piece as you need it and the loaf won’t dry up prematurely. By the way, you don’t need (and shouldn’t use) a bread knife to slice this bread. Just a nice sharp knife like you would use to cut meat with works beautifully.